

This article explains how to create, customize, and embed a Prospecting Widget on your website. The widget allows visitors to submit their business details and instantly receive insights such as listings accuracy, reviews, website performance, SEO signals, and more. Submitted leads are automatically captured and visible in your prospect dashboard for follow-up.
TABLE OF CONTENTS
- Upgrade to the Prospecting Widget Feature
- Create a Prospecting Widget
- Customize Widget Appearance and Theme
- Light and Dark Theme Options
- Embed the Widget on Your Website
- Monitor and Manage Leads
- Frequently Asked Questions
- Need More Help?
Upgrade to the Prospecting Widget Feature
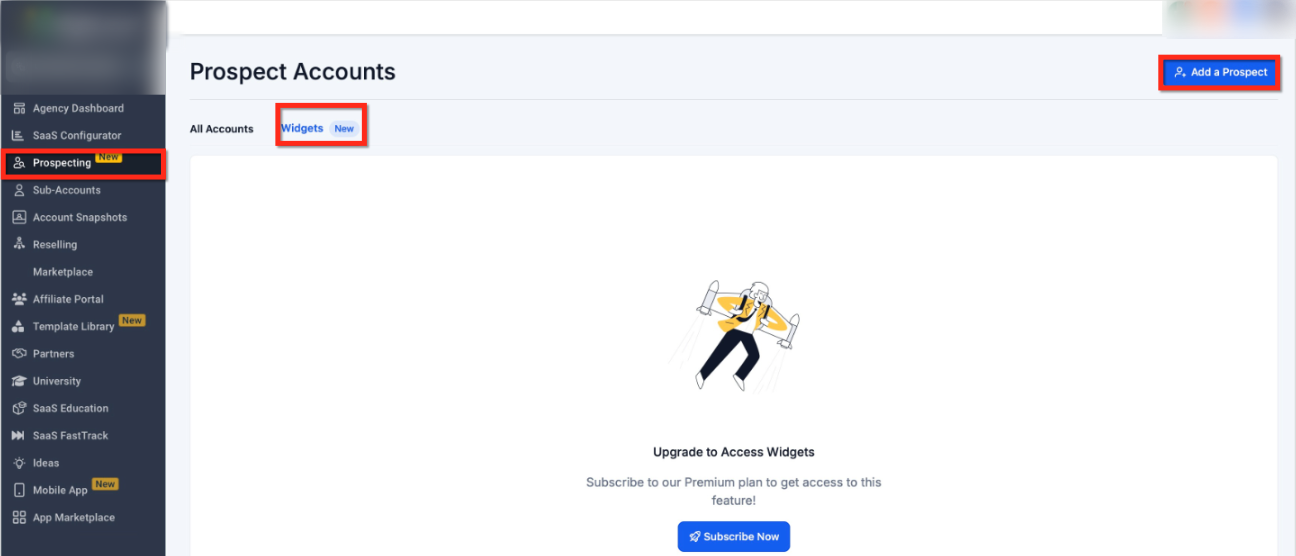
Before creating a widget, access to the Prospecting Widget feature must be enabled on your account. This feature is available after upgrading to the paid version of the prospecting tool.
Once upgraded, the Widgets tab becomes available inside the Prospecting section.

Create a Prospecting Widget
After access is enabled, you can create your widget directly from the Prospecting section.
Navigate to Prospecting and open the Widgets tab. From here, you can create and manage your widget.
At this time, only one widget can be created per account.
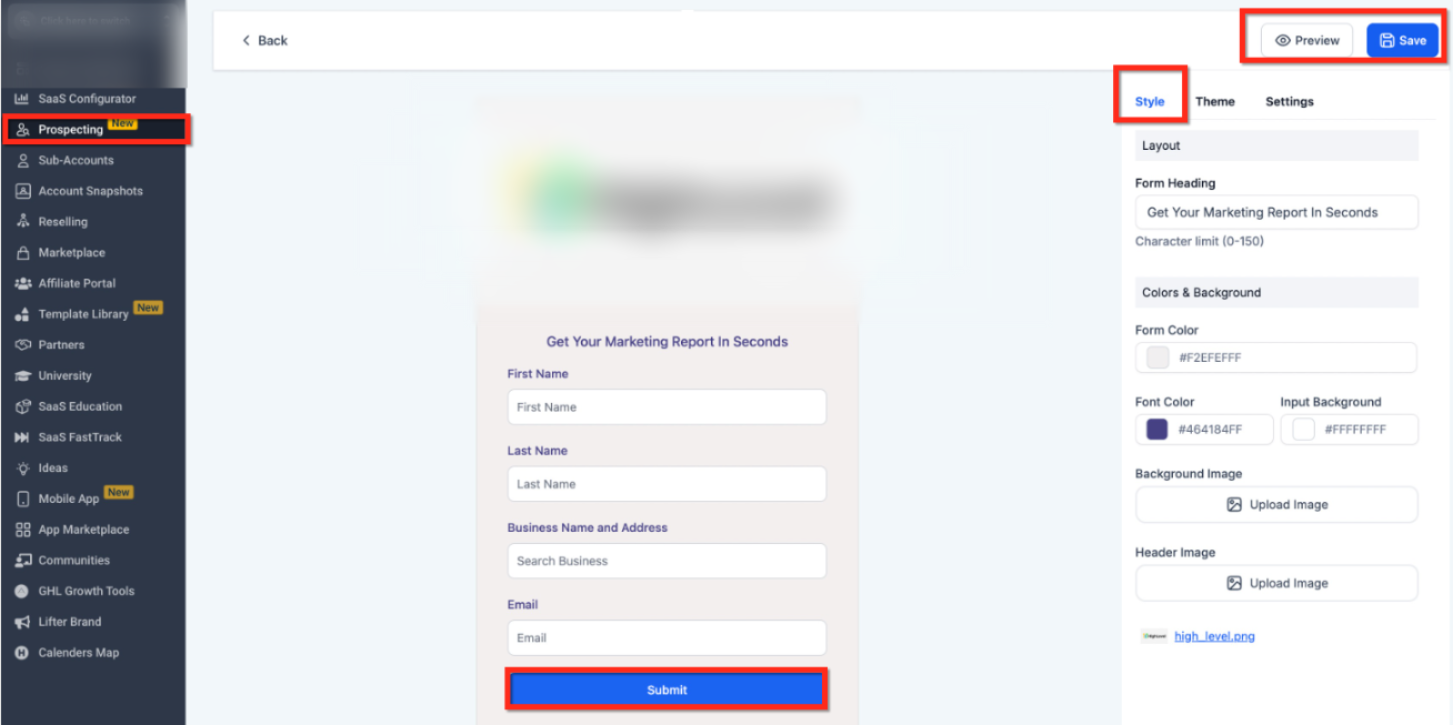
Customize Widget Appearance and Theme
Once the widget is created, you can customize its appearance to match your website.
You can configure:
-
Form heading text
-
Input labels
-
Button text
-
Colors and background
-
Header and background images
-
Layout spacing
These options allow the widget to blend seamlessly with your site design.
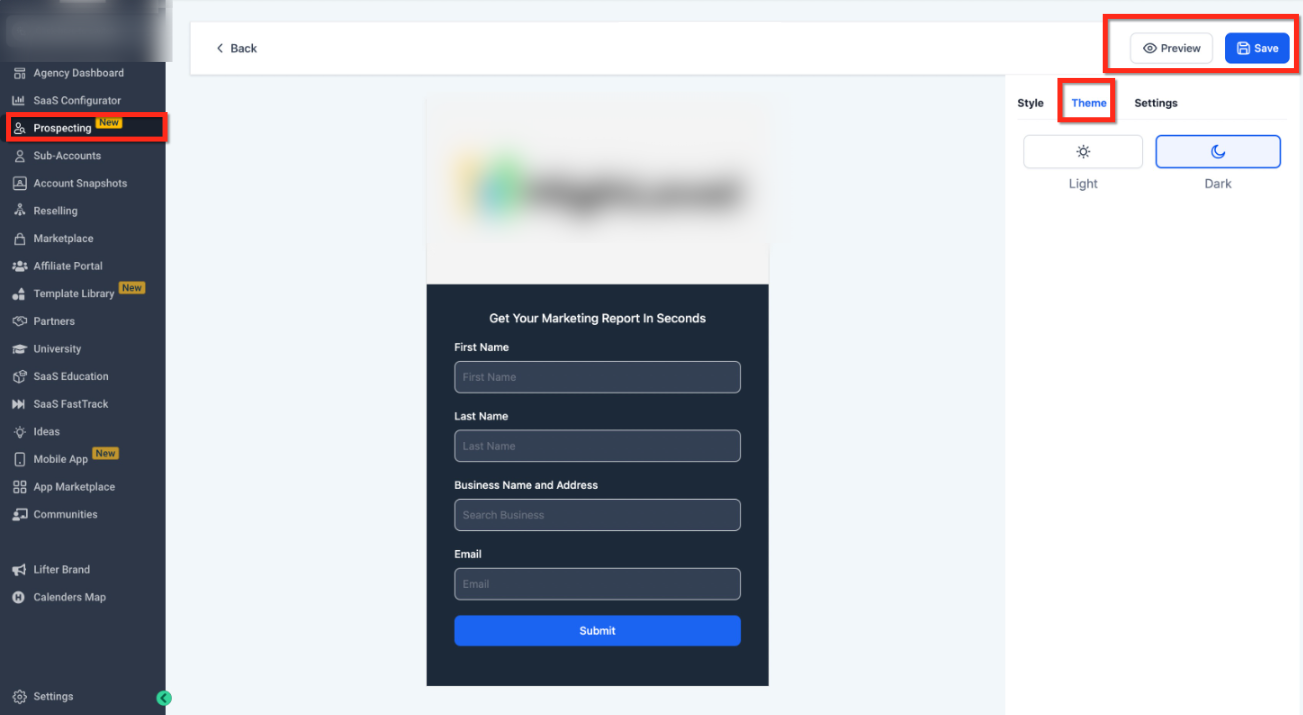
Light and Dark Theme Options
You can switch between Light and Dark themes depending on your site style. Theme selection updates the widget preview instantly so you can confirm visibility and contrast.
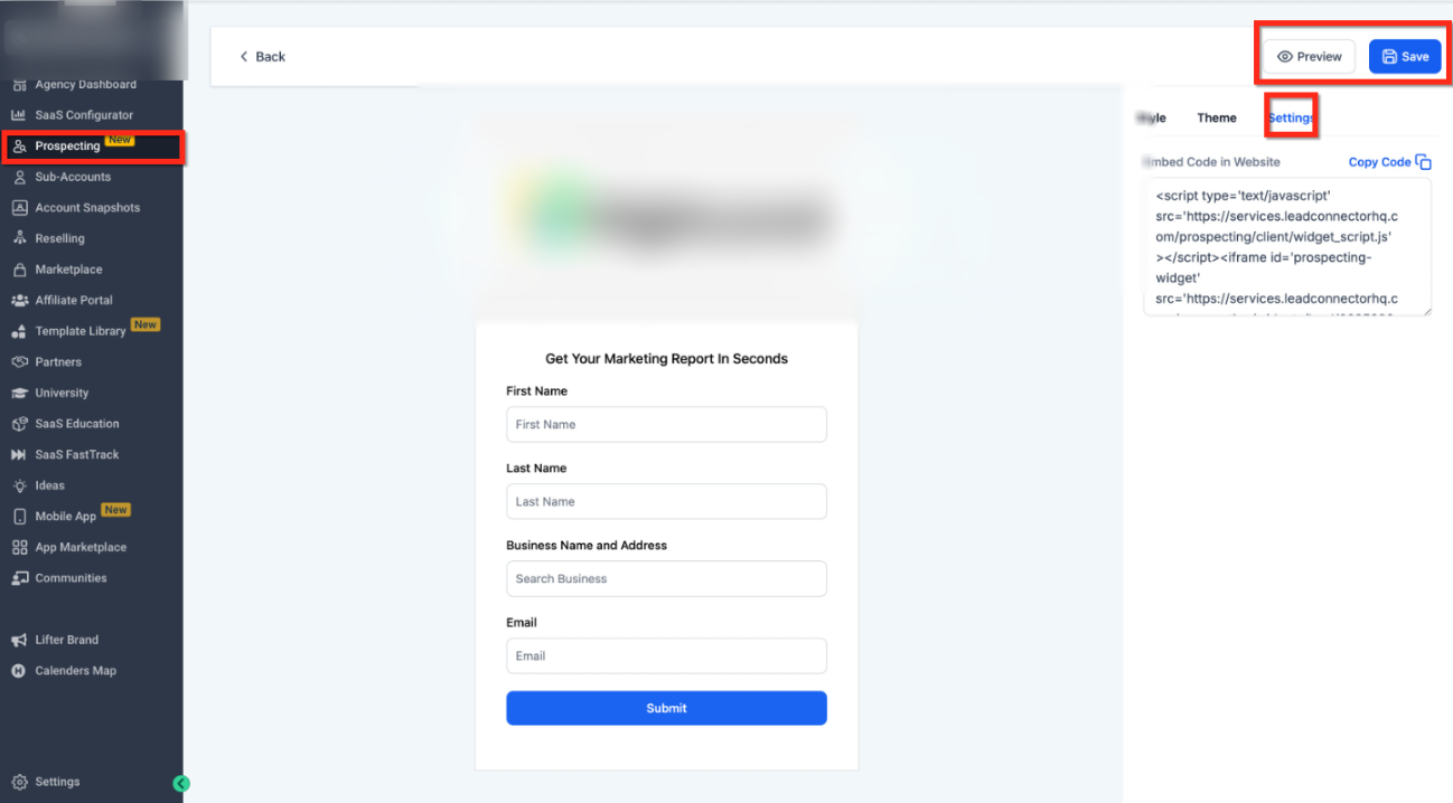
Embed the Widget on Your Website
After customization is complete, the widget can be embedded on any page of your website.
From the widget settings:
-
Copy the provided embed code
-
Paste it into your website’s HTML, CMS block, or page builder
-
Publish the page and verify the widget loads correctly
The widget can be placed on:
-
Landing pages
-
Dedicated lead-generation pages
-
Sidebars or sections within existing pages
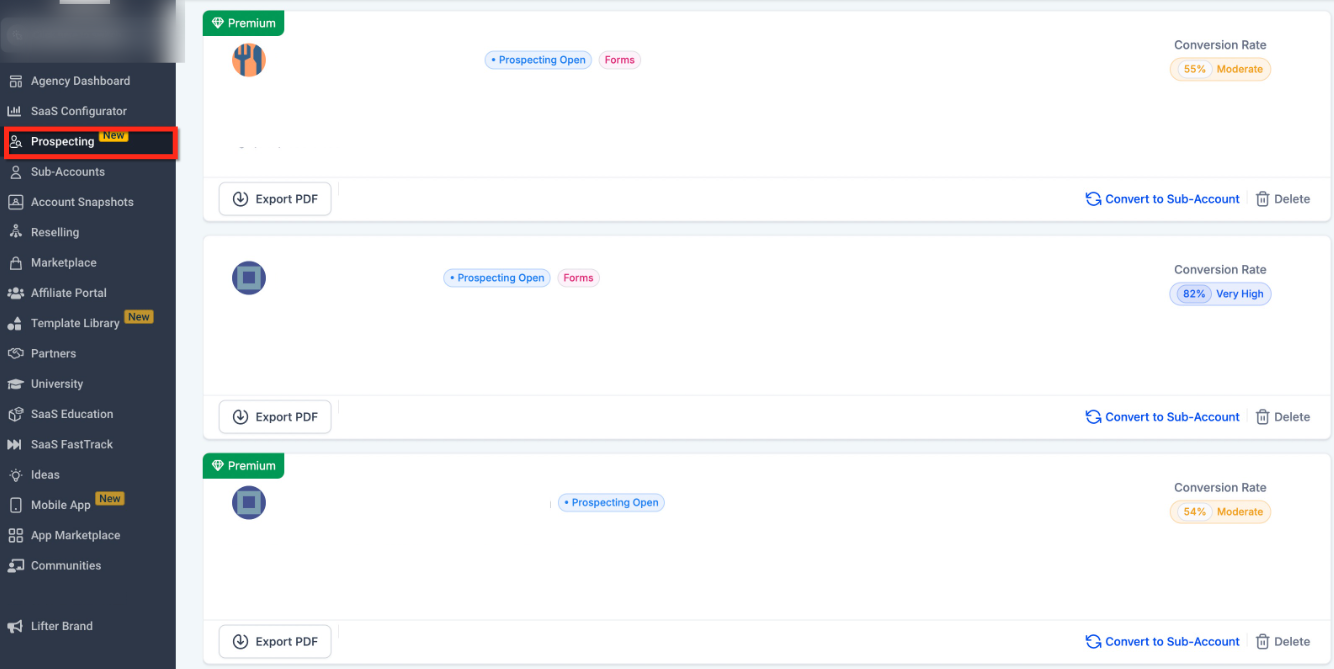
Monitor and Manage Leads
All submissions made through the widget are automatically added to your prospect dashboard.
From the dashboard, you can:
-
View submitted business details
-
Review generated insights
-
Track conversion signals
-
Export prospect reports
-
Follow up with leads using your preferred outreach methods
Leads submitted through the widget are clearly identifiable for easy tracking.
Frequently Asked Questions
Q: Do I need a paid plan to use the prospecting widget?
Yes, the widget feature is available after upgrading to the paid prospecting plan.
Q: How many widgets can I create?
Currently, only one widget can be created per account.
Q: Can I customize the widget to match my website branding?
Yes, you can customize colors, layout, text, and theme to align with your site.
Q: Where do widget leads appear after submission?
All leads are captured and displayed inside the prospect dashboard with their submitted details and insights.
Need More Help?
You can find additional guidance by searching the in-app help center for topics related to prospecting, widgets, lead management, and reporting. If you need further assistance, support options are available directly from the help menu.