

With this new functionality, users can now preview exactly how custom fields will appear for their respective clients before sending out any emails.This feature simplifies the testing process and eliminates the need to create fake test cases, allowing for a more efficient and cost-effective approach to email campaign management.
Steps to preview the custom field:
Step 1. Navigate to Marketing -> Email Templates to create your personalized email.

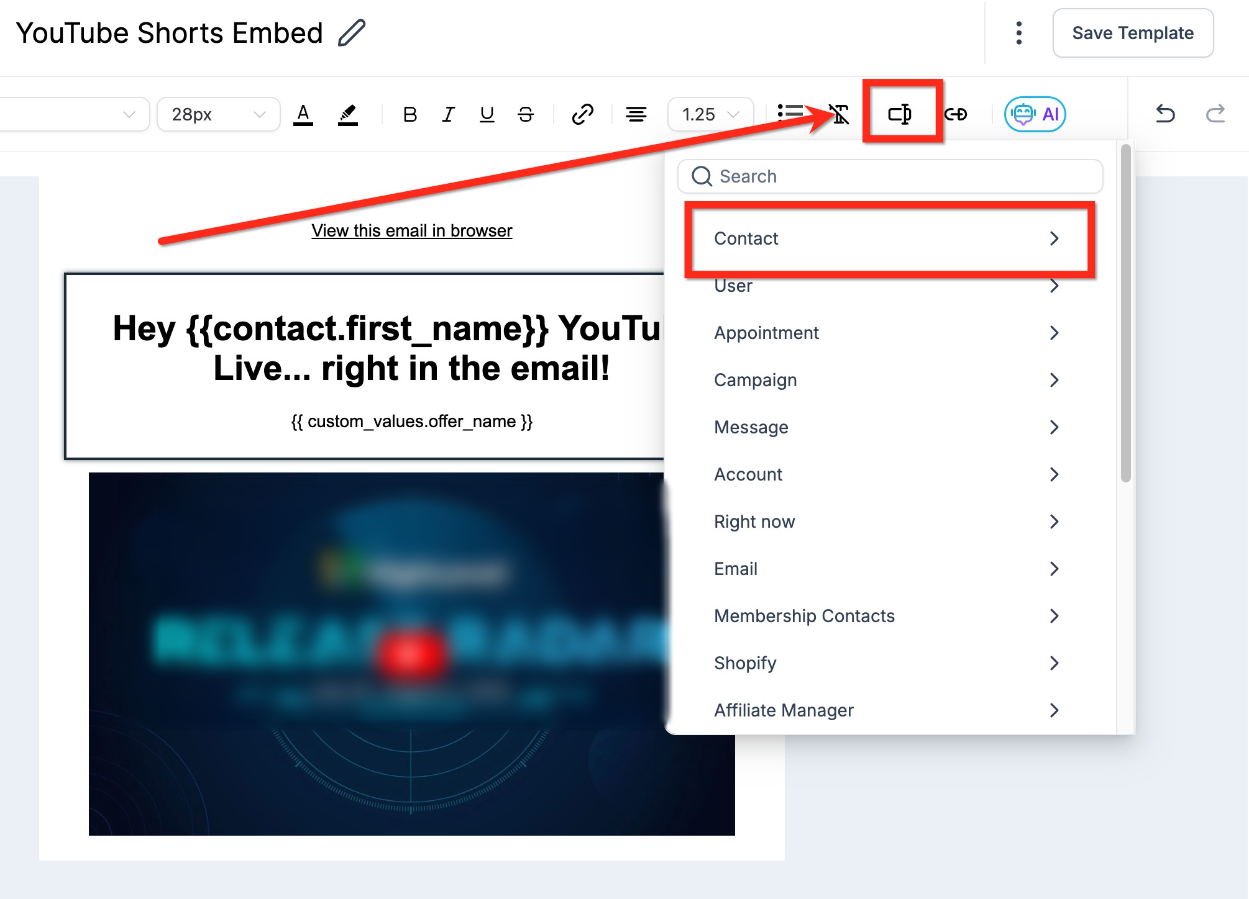
Step 2: Within the Email Builder, incorporate custom fields of the contact based on your preferences.
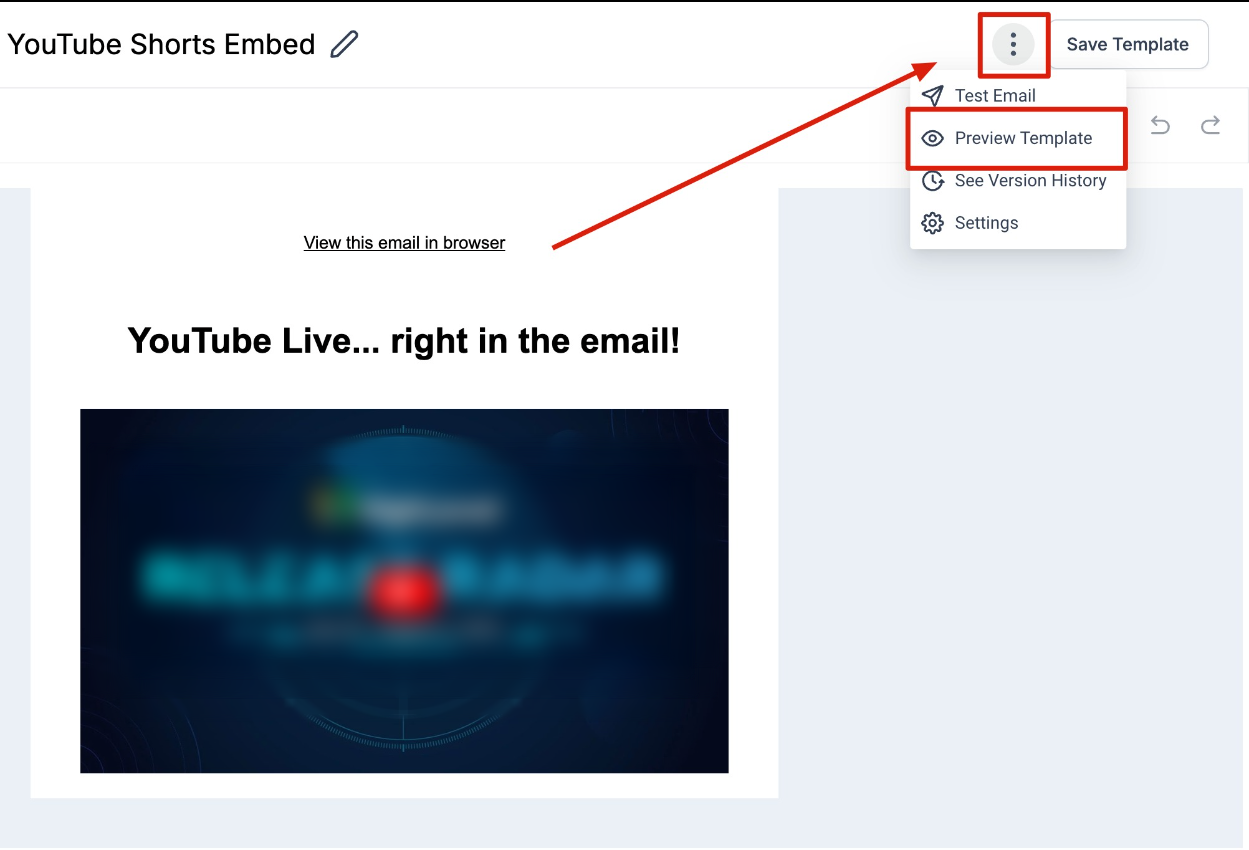
Step 3. Click on the three dots located at the top right corner to access the *Preview Template *
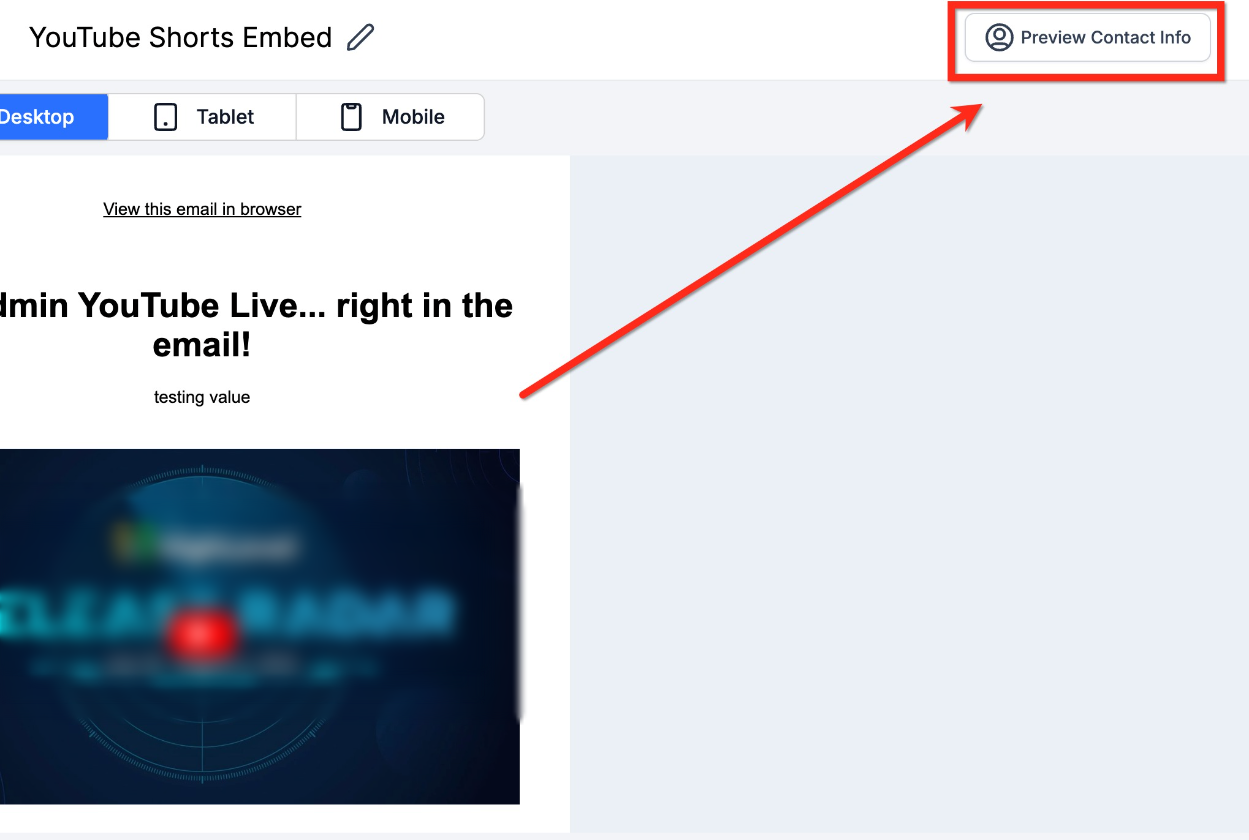
Step 4. On the Preview screen, locate and select Preview Contact Info at the upper right corner.
Step 5. By default, a contact’s information is displayed in the email. To preview as a specific contact, simply search for the desired contact from the search bar.
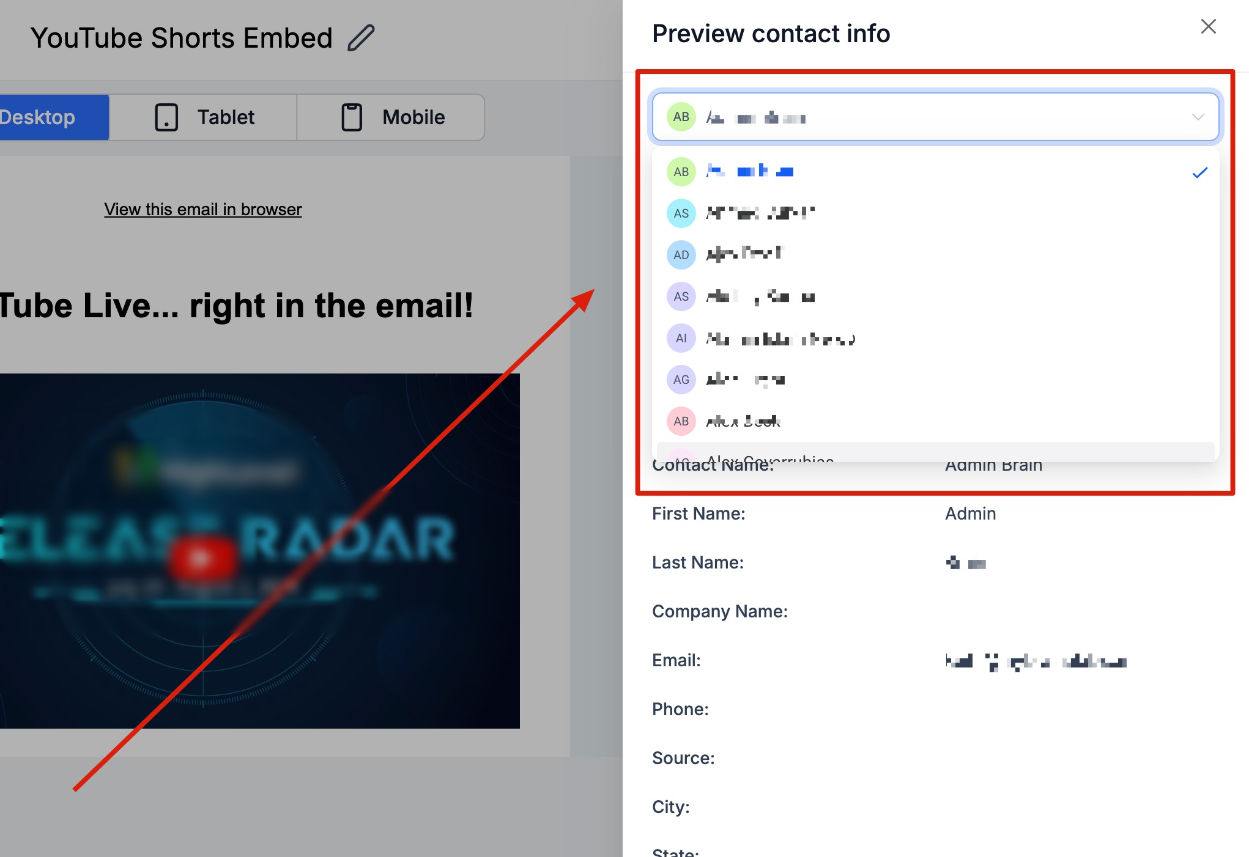
Step 6. You’ll observe the contact’s information and custom field data on the right panel, alongside the email preview on the left. This gives you a glimpse of how the selected contact would view the email.

Utilize the search bar once more to find a different customer for further previewing.