

If a business is already active on Yext through another provider, users may encounter a conflicted state. Follow these three steps to resolve the issue and regain access to Yext services.
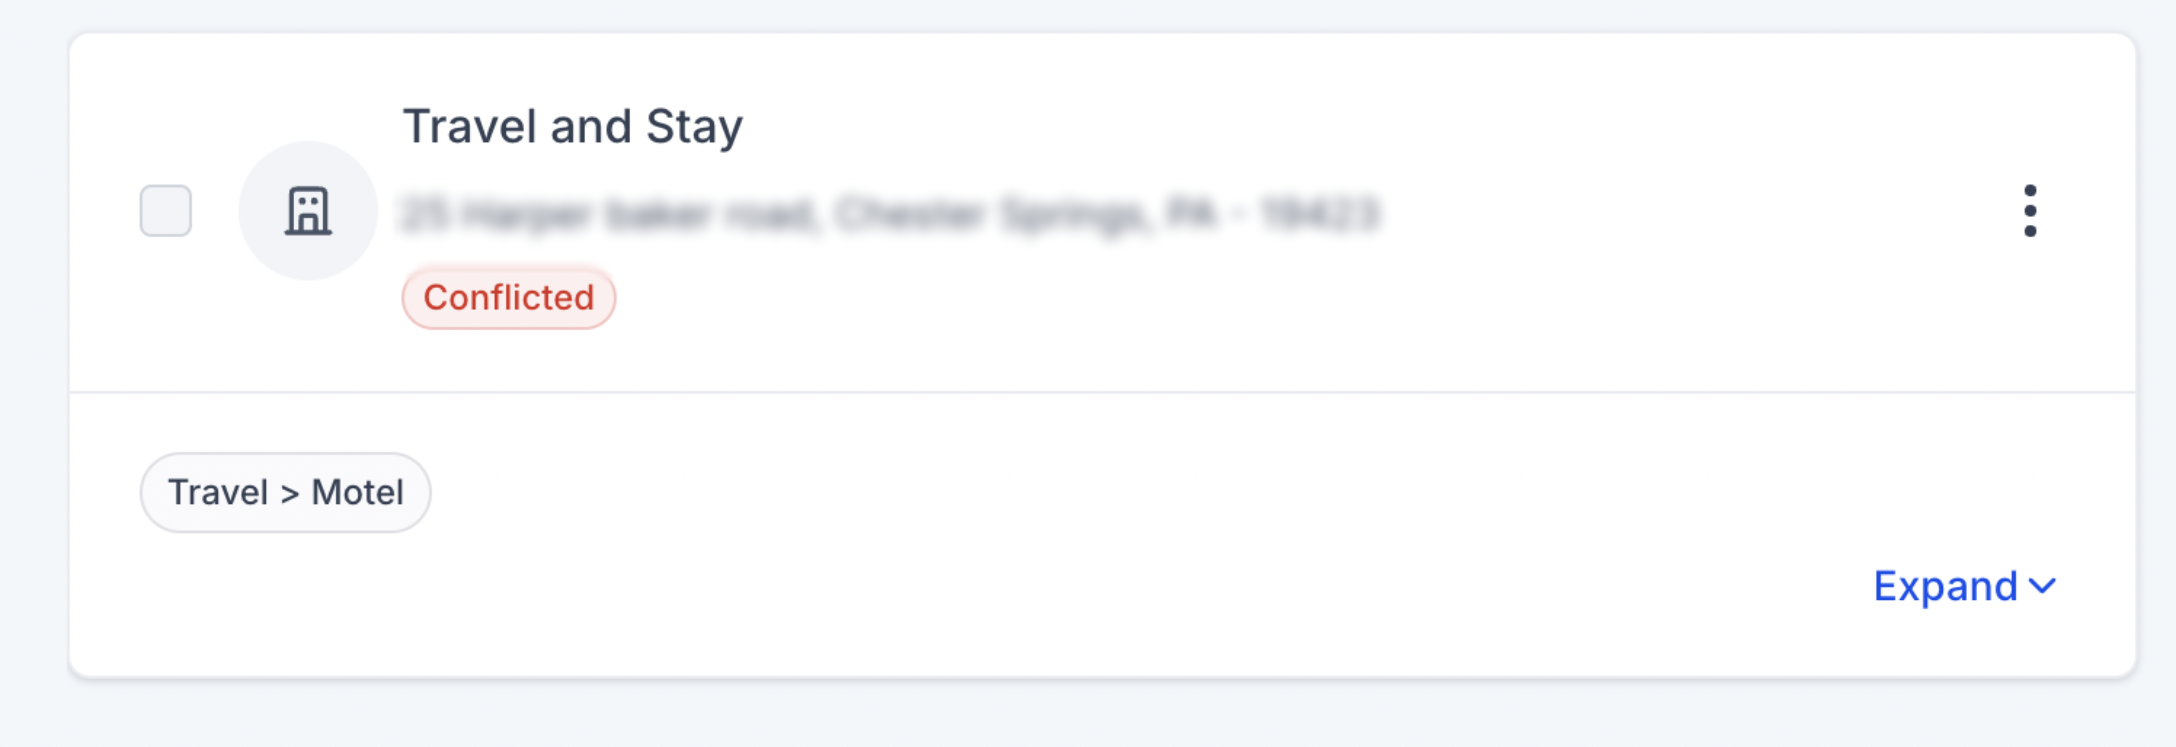
TABLE OF CONTENTS
2. Contact Yext and Cancel the Service
1. Information Gathering
To proceed with cancellation, the business owner must collect the necessary details:
- Entity ID: Navigate to Listings >> Business Entities >> Conflicted Entity (Entity ID).
- Business Name
- Address
- Phone Number
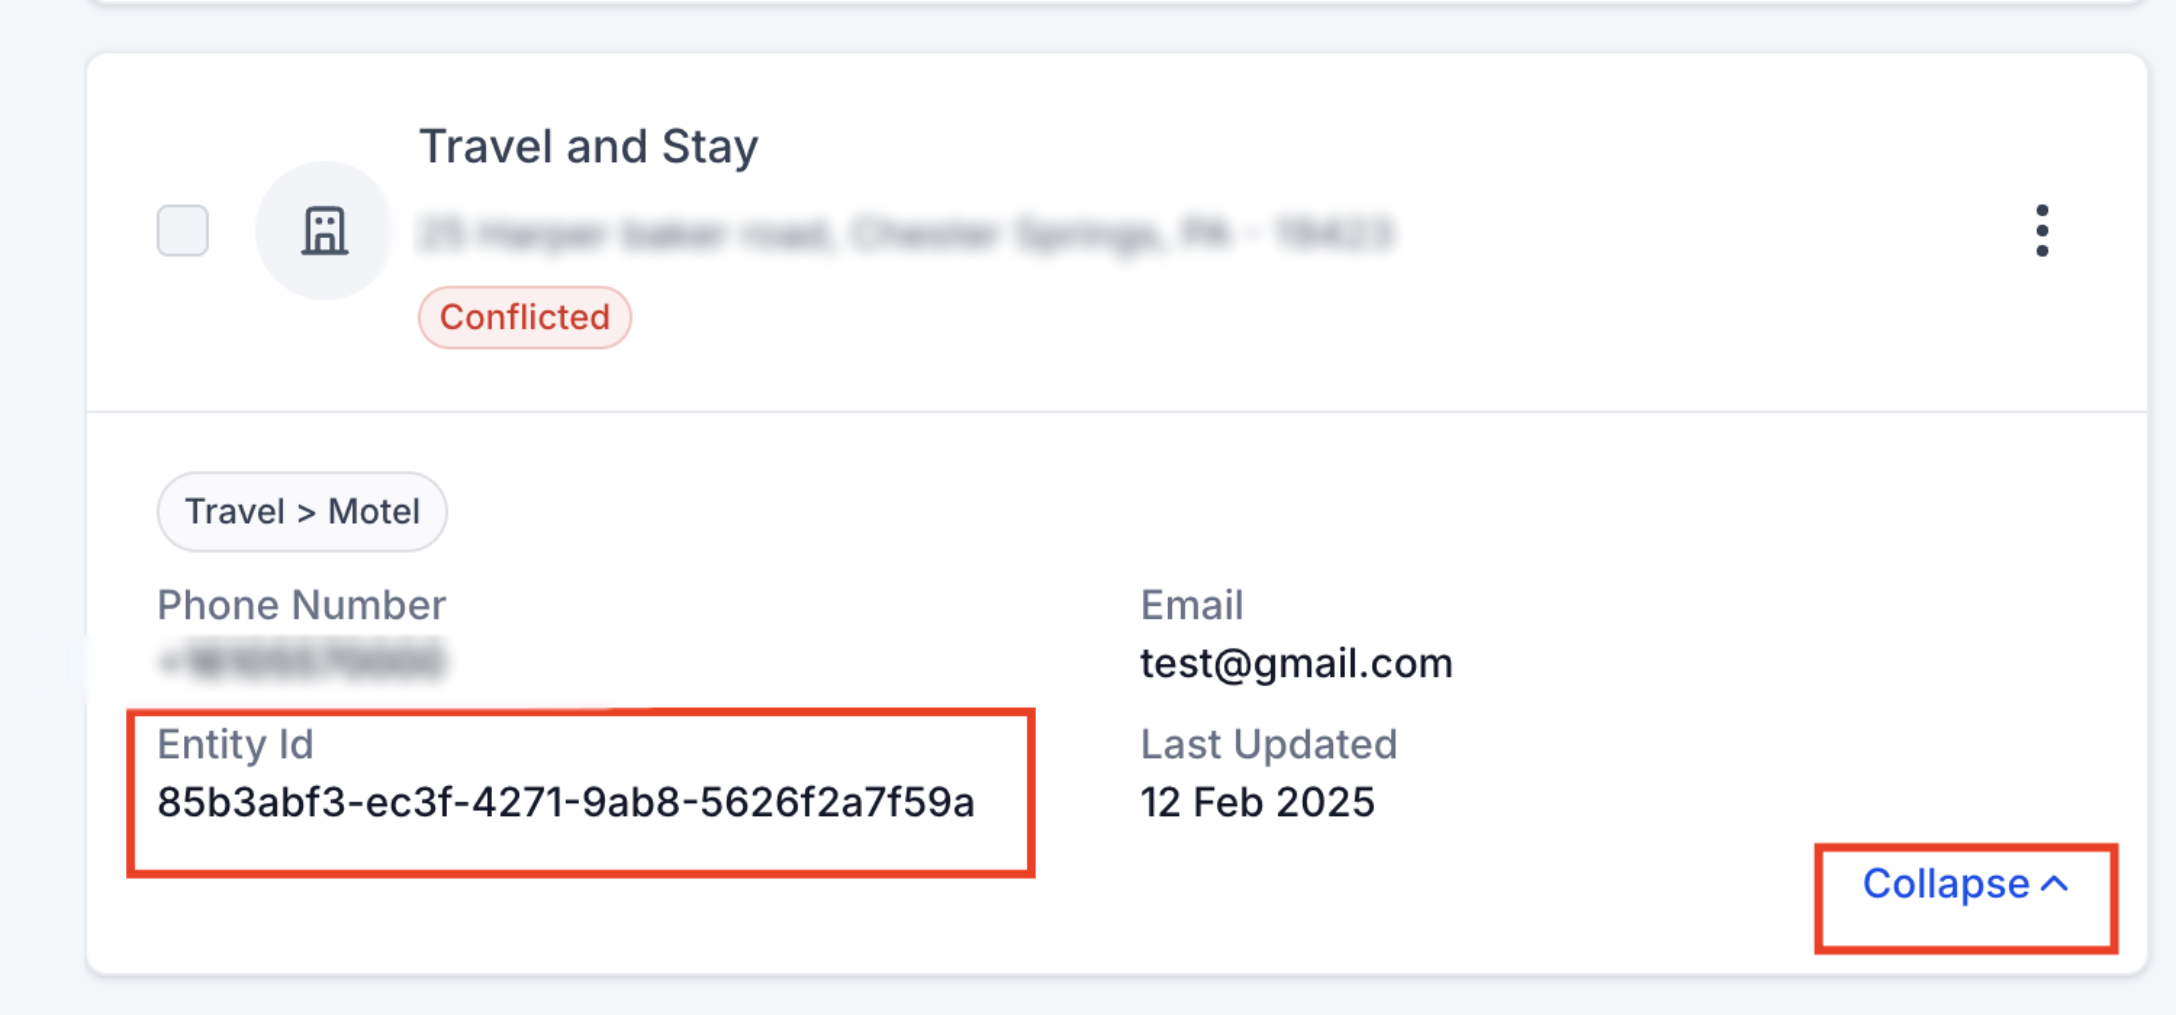
This information is essential for Yext to verify and process the request.
2. Contact Yext and Cancel the Service
The business owner must directly contact Yext at locationconflict@yext.com to request cancellation. Yext provides two cancellation options:
- Cancel Immediately
- Cancel at the End of the Billing Cycle
It is mandatory that business owner choose to cancel the Yext service immediately.
Email Format:
Subject: Listing stuck in conflicted state {Entity ID}
Message Body:
Hello Yext Team,
Our Online Listings request has moved to a conflicted state. Could you please assist us in resolving this?
Business Details:
- Business Name: [Name of Business]
- Business Address: [Address of Business]
- Business Phone Number: [Phone Number]
We appreciate your help and look forward to your response.
Best regards,
[Your Name]
[Your Contact Information]
[Your Company Name]
3. Request Yext Service Again
Once the cancellation is confirmed, the business can request Yext service again from the system. If the issue persists, please reach out to your administrator for further assistance.

Following these steps will ensure a smooth resolution of the conflict, allowing the business to restore its Yext services effectively.
Need Help?
If the listing remains in a Conflicted state after the previous Yext service has been canceled, first confirm that the cancellation was completed and the correct business information was used.
Verify that:
- The business owner contacted locationconflict@yext.com directly.
- The request included the correct Entity ID, business name, address, and phone number.
- Yext confirmed that the previous service was canceled immediately, rather than at the end of the billing cycle.
- The conflicted listing matches the business information submitted to Yext.
- You waited until the cancellation was fully confirmed before requesting the service again.
- You submitted a new service request after the previous service was released.
- You are working with the correct business entity and account.
If the listing still shows as conflicted after Yext confirms the cancellation, avoid submitting repeated requests until the previous service has been fully released.
If the issue continues, collect the Entity ID, business name, address, phone number, Yext cancellation confirmation, current listing status, and screenshots of the conflicted entity before contacting support.